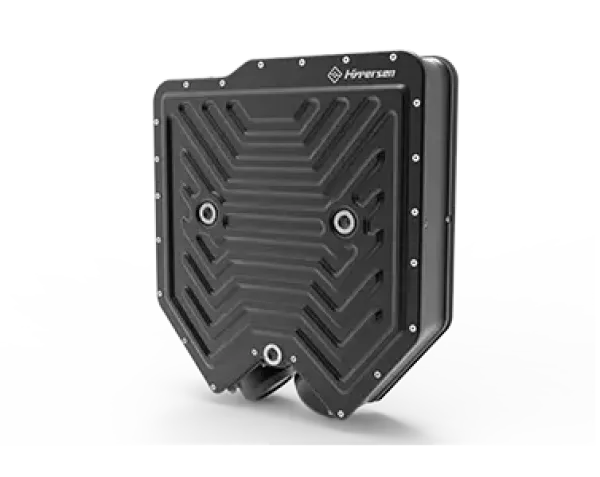
Hypersen HPS-LCF1000 Pricing & Product Details
Ranked Nr. 143 of 97 3D Vision Systems
HPS-LCF1000 Overview
What is HPS-LCF1000?
Hypersen's HPS-LCF1000 is a 3D line confocal sensor that is suitable for the inspection of transparent, mirrored, and highly reflective materials. It is designed to record detailed raw data and generate various forms of 2D/3D graphs, making it an ideal tool for industrial precision measurement and scientific research.
With 2048 points per profile and 0.1μm Z-axis repeatability, the HPS-LCF1000 offers ultra-high-speed scanning of up to 35000 lines/sec. It also provides a complete SDK and one-stop software support service for seamless integration with other systems.
This sensor has a field of view of 6mm and a measurement range of 3mm, with an X-resolution of 2.9μm. It has a stand-off distance of 16mm and can handle a maximum surface slope on a mirror of ±20.5 degrees. The dimensions of the sensor are 449.3397106mm, and it weighs 19kg.
The HPS-LCF1000 is built with an IP55 ingress protection level (EN 60529) and requires a power supply of 24 VDC, 2A. It offers PC connectivity through 40G optical fiber and has digital input with optocoupler input and output.
Overall, the Hypersen HPS-LCF1000 is an excellent tool for the 3D inspection of transparent, mirrored, and highly reflective materials, with its high-speed scanning, precision, and software support service.
What applications is HPS-LCF1000 product best for?
1. 3D topography measurement:
The HPS-LCF1000 is an ideal tool for 3D topography measurement of transparent, mirrored, and highly reflective materials. It has a high resolution of 2048 points per profile and an ultra-high-speed scanning rate of 35000 lines per second. This makes it capable of capturing detailed surface topography of even the most complex structures with high precision.
2. Surface defects detection:
The HPS-LCF1000 is also suitable for surface defects detection. Its high resolution and repeatability make it an ideal tool for detecting surface scratches, pits, and other defects. The device can capture detailed data and generate various forms of 2D/3D graphs to help identify and analyze surface defects.
3. Gap and flush measurement:
The HPS-LCF1000 can also be used for gap and flush measurement in industrial precision measurement and scientific research. It can accurately measure the gap and flush between two surfaces with high precision, making it useful in a wide range of applications.
4. Curved contour scanning:
The HPS-LCF1000 can be used for scanning curved contours with high precision. Its high-resolution capabilities and ultra-fast scanning rate make it an ideal tool for capturing detailed data of curved surfaces, allowing for accurate and precise measurements.
5. Step height measurement:
With its 0.1μm Z-axis repeatability, the HPS-LCF1000 can accurately measure step heights. This makes it an ideal tool for measuring the height of steps and other features in a wide range of applications, including industrial precision measurement and scientific research.
6. Impurity and air bubble inspection:
Finally, the HPS-LCF1000 can also be used for impurity and air bubble inspection. Its high resolution and repeatability make it an ideal tool for detecting small impurities and air bubbles on surfaces, helping to improve quality control in manufacturing and scientific research applications.
What are the specifications of HPS-LCF1000?
| Image Type |
|
| Working distance | 3000 mm |


